This post is automatically translated with LLM. The translation content has NOT been reviewed and may contain errors.
Typically, Docker images are created by running specified commands step-by-step within an existing image. This process poses no issues for most users on x86 architecture computers, as the architectures are compatible. Images built on one machine can usually run directly on others, unless the programs within the image use newer instruction sets like AVX.
However, there are ARM-based hosts that can run Docker and execute specially compiled ARM architecture images. These include Raspberry Pi series and similar boards like Cubieboard, Orange Pi, Asus Tinker Board, etc. Additionally, hosting providers like Scaleway offer ARM-based dedicated servers.
Since ARM architecture systems cannot run on x86 computers, you can't directly generate ARM architecture images via Dockerfile on x86 machines. The common solution is to use an ARM host for docker build.
But when I created a Docker image for nginx on my Raspberry Pi, I found this approach suboptimal. With only 1GB RAM on the Pi, enabling multi-threaded compilation (make -j4 or make -j2) causes memory exhaustion and kills gcc; while single-threaded compilation (make) takes excessively long (several hours).
After research, an alternative solution emerged: simulating an ARM environment on x86 architecture through "virtualization." Although x86 emulation of ARM lacks hardware acceleration (VT-x, AMD-V, etc.) and is inefficient, the overall performance still surpasses native compilation on Raspberry Pi due to the high performance of x86 CPUs.
qemu-user-static
The first step is to emulate an ARM environment. While we could run a full ARM Linux VM using QEMU and perform Docker builds inside it, this introduces challenges: managing an additional Docker instance, inflexible resource allocation between host and VM, and difficulty automating scripts for CI/CD integration.
A superior solution is qemu-user-static, a userspace implementation of QEMU. It dynamically translates ARM/MIPS instructions to x86, allowing ARM Linux programs to run directly on amd64 systems. This creates a 1:1 mapping between ARM processes and host system processes, enabling flexible resource allocation and script automation.
One caveat: When an ARM process spawns a child process, qemu-user-static doesn't automatically handle it. If the new process is ARM-based, the Linux kernel can't execute it. This requires enabling Linux's binfmt feature, which automatically invokes qemu-user-static when detecting ARM/MIPS binaries. Once enabled and registered, running ARM programs becomes indistinguishable from running native x86 programs.
Running ARM Images in x86 Docker
To run ARM images in Docker, first register the qemu-user-static emulator:
docker run --rm --privileged multiarch/qemu-user-static:register --reset
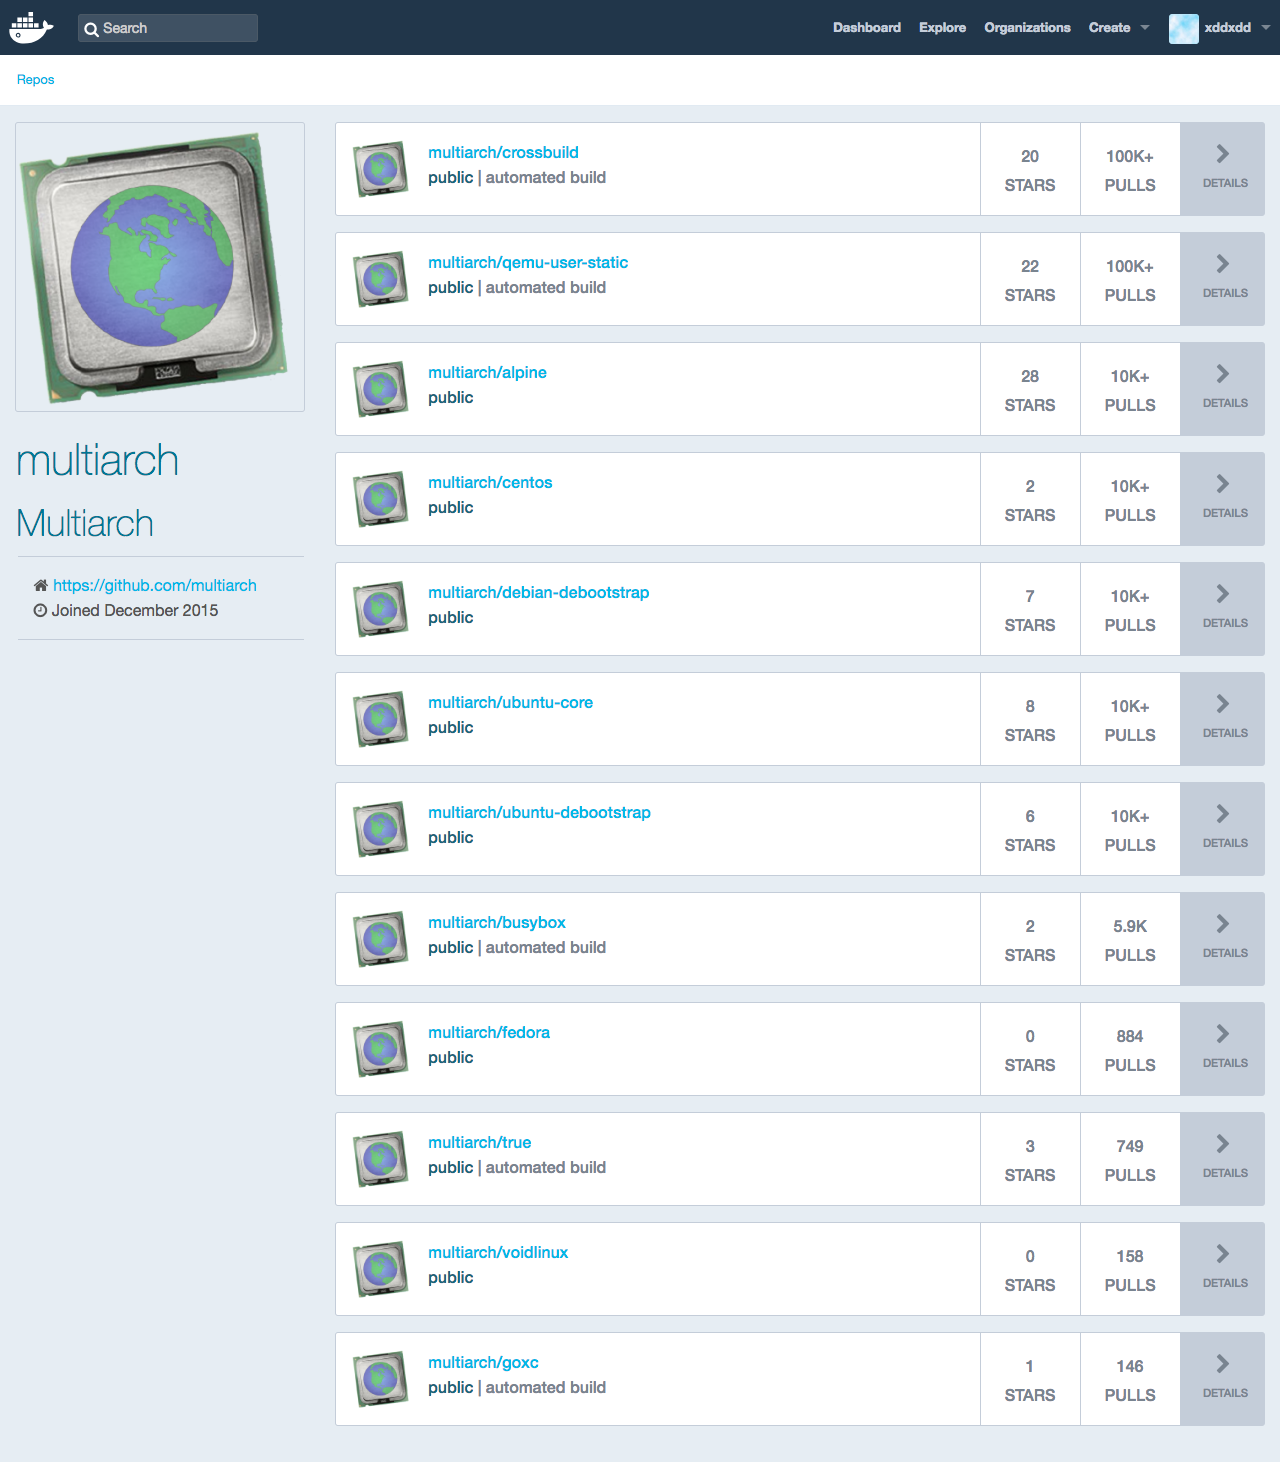
Additionally, the Docker image itself must contain the corresponding qemu-user-static binaries. Pre-configured system images are available on Docker Hub at https://hub.docker.com/u/multiarch/:
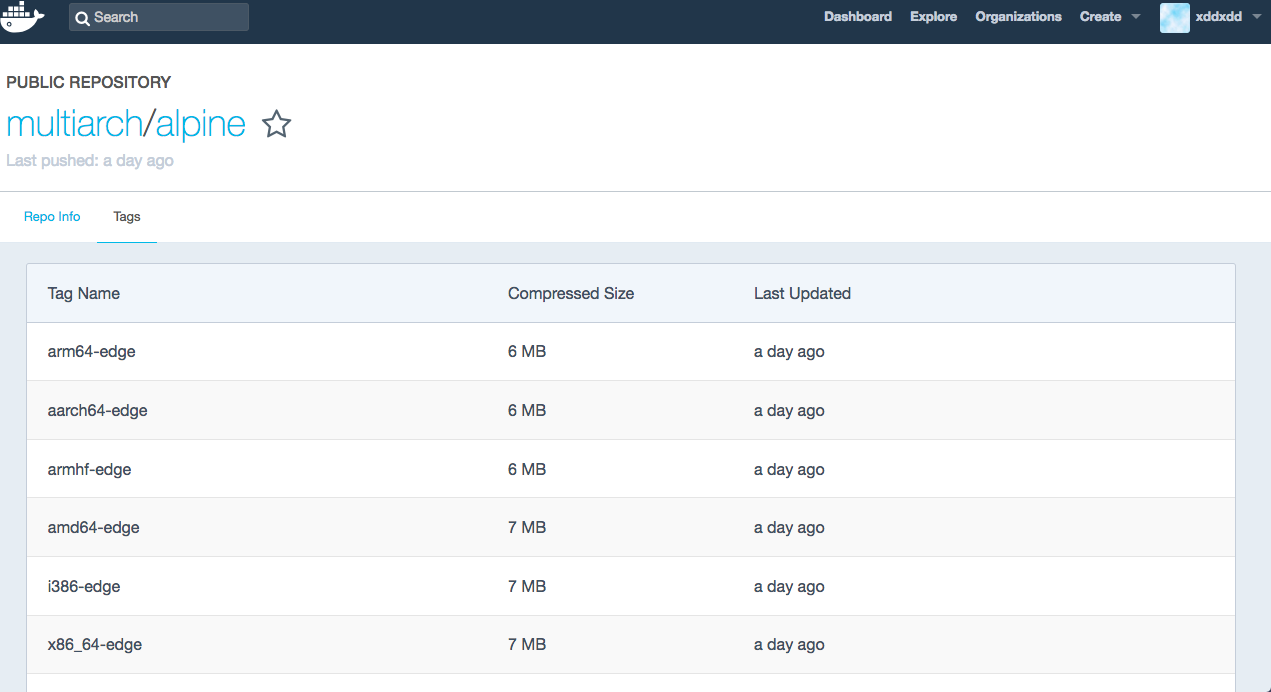
For example, the multiarch/alpine image provides aarch64 (armv8), armhf, amd64, and i386 variants under different tags:
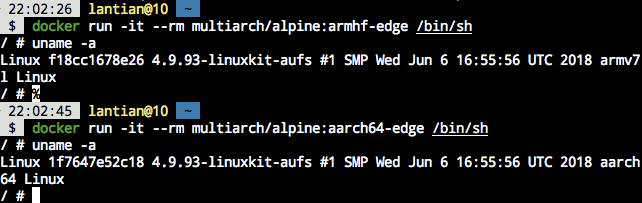
After registering the emulator, you can directly run ARM images:
docker run -it --rm multiarch/alpine:armhf-edge /bin/sh
docker run -it --rm multiarch/alpine:aarch64-edge /bin/sh
Modifying Dockerfile
Next, we'll call ARM architecture images in the Dockerfile. For armv7l (armhf) hosts (Raspberry Pi (default), Tinker Board, etc.), replace the first line of your Dockerfile with the corresponding armhf image from https://hub.docker.com/u/multiarch/. Mapping examples:
- alpine → multiarch/alpine:armhf-edge
- ubuntu:bionic → multiarch/ubuntu-debootstrap:armhf-bionic
- debian:stretch → multiarch/debian-debootstrap:armhf-stretch
For aarch64 (armv8) hosts (supported by Raspberry Pi 3+ with specialized OS):
- alpine → multiarch/alpine:aarch64-edge
- ubuntu:bionic → multiarch/ubuntu-debootstrap:arm64-bionic
- debian:stretch → multiarch/debian-debootstrap:arm64-stretch
After modification, rebuild the image to generate ARM architecture images locally.
Docker Hub Automated Builds
Docker Hub provides not only image storage but also automated build services. The build environment offers a 2GB RAM, 1-core CPU, 30GB disk VM with root access running for 2 hours (source: Docker Forum).
Default automated builds execute the equivalent of docker build, but we need to register qemu-user-static beforehand. Docker's hooks allow running custom commands before building (source: Docker Cloud Docs). Since we have root access, we can register the emulator in a hook.
Create a hooks folder in your Dockerfile directory, then add a pre_build file with:
#!/bin/sh
docker run --rm --privileged multiarch/qemu-user-static:register --reset
See this commit for a hook example.
Docker Hub will execute this script before building. The resulting image will be ARM architecture.
If your build involves no compilation, it should complete quickly. For heavy compilation tasks (e.g., nginx), the 2-hour limit may be exceeded. In such cases, switch to time-unlimited services like Travis CI.
Travis CI Automated Builds
Travis CI offers free automated builds for open-source projects. If your Dockerfile is in a public GitHub repository, you can use it directly.
Travis provides 7.5GB RAM, 2-core CPU, 18GB disk, and 50-minute execution limits. This allows faster compilation with make -j4.
-
Log in at https://travis-ci.org/ with GitHub and enable builds for your repository.

-
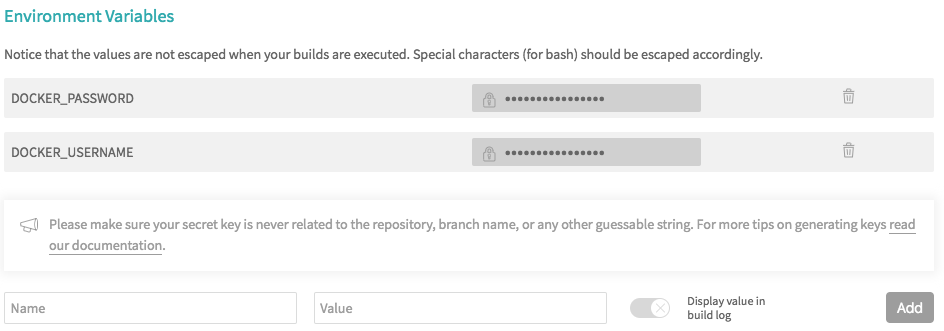
Add your Docker Hub credentials as environment variables in Settings to avoid hardcoding passwords.
-
Create a
.travis.ymlfile in your repository root (Travis's configuration file). Modify my .travis.yml as a template, available at: https://github.com/xddxdd/dockerfiles/blob/master/.travis.yml
For advanced customization, refer to Travis official documentation.
After committing .travis.yml to GitHub, Travis will automatically build your images, push them to Docker Hub, and email build results.