This post is automatically translated with LLM. The translation content has NOT been reviewed and may contain errors.
2020-03-16 Notice
This article has an updated version: see
《Introduction to the DN42 Experimental Network (2020 Edition)》.
The new version features a more detailed registration process and has been updated to reflect changes in DN42 over the past three years.
The following content was written in 2017 and is for archival purposes only.
DN42, short for Decentralized Network 42, is a large-scale VPN network. Unlike traditional VPNs, DN42 utilizes technologies commonly deployed on internet backbones (such as BGP), effectively simulating a real-world network environment.
Due to its realistic nature, the barrier to entry for DN42 is relatively high. You'll need to act as an ISP (Internet Service Provider): register an ASN number, obtain IPv4 and IPv6 address pools, and broadcast them from your server using BGP. You'll also need to contact other users to establish peering connections, gradually integrating into the complete DN42 network.
DN42 operates on the 172.20.0.0/14 and fd00::/8 address ranges – both reserved for private networks. This means your activities on DN42 won't interfere with your server's other internet connections.
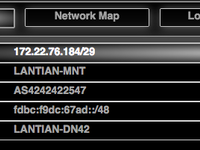
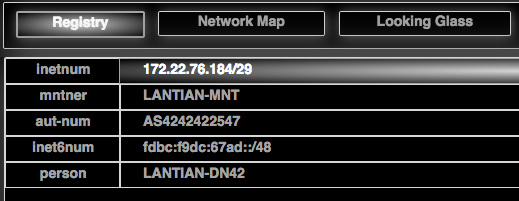
DN42 provides a comprehensive tutorial on ASN and IP registration. Since you can follow those steps directly, this article focuses on address pool broadcasting and peering with other users. We assume you've completed ASN and address pool registration as shown:
First, log into your server, VPS, OpenWRT router, Raspberry Pi, or any Linux device with a fixed IP and persistent connectivity. This guide uses Debian 9; package names and config paths may differ for CentOS/Arch Linux.
Using OpenVPN to Peer with Other Users
First, install OpenVPN and Supervisor for management:
apt-get install openvpn supervisor
update-rc.d openvpn disable # Disable OpenVPN auto-start; manage via Supervisor
Generate a pre-shared key for OpenVPN P2P connections:
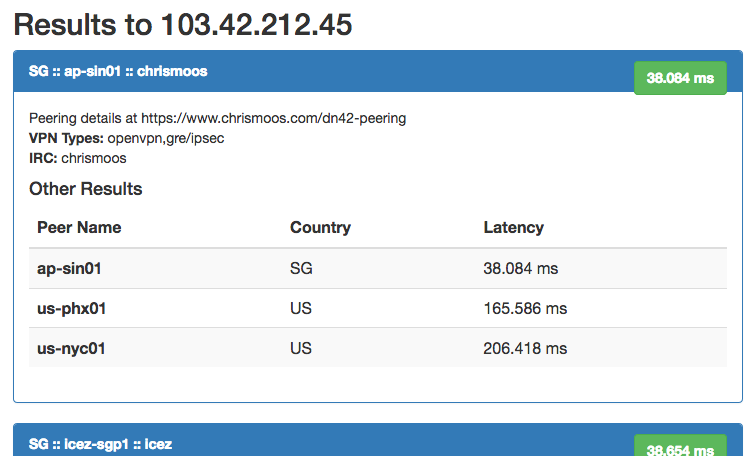
openvpn --genrsa --secret [name].keyNext, contact existing DN42 users. Use DN42 PingFinder to measure latency between your server and others, helping identify low-latency peers. Most nodes are concentrated in the US and Europe, with few in Asia-Pacific (mainly Japan/Singapore).

Note: You can peer with multiple users simultaneously (like real ISPs). Contact several nearby peers via email and establish connections concurrently.
Once you've chosen peers, exchange:
- Public IPs and OpenVPN P2P ports
- Internal DN42 IPs
- DN42 AS numbers
- OpenVPN pre-shared key
Both parties should create this OpenVPN config:
proto       udp
mode        p2p
remote      [peer's public IP]
rport       [peer's port]
local       [your public IP]
lport       [your port]
dev-type    tun
tun-ipv6
resolv-retry infinite
dev         [arbitrary TUN name]
comp-lzo
persist-key
persist-tun
cipher aes-256-cbc
ifconfig-ipv6 [your DN42 IPv6] [peer's DN42 IPv6]
ifconfig [your DN42 IPv4] [peer's DN42 IPv4]
secret [path-to-key].key
Run openvpn --config [file-path] and verify connectivity by pinging each other's DN42 IPs.
Add to Supervisor (/etc/supervisor/conf.d/):
[program:[custom-name]]
command=openvpn --config [file-path]
autostart=true
autorestart=true
Run supervisorctl reload to manage the connection.
Using Bird for BGP Announcement
Establishing VPN links is like laying cables between ISPs. Next, exchange reachability information via BGP. Install Bird:
apt-get install birdFollow the official guide to create config files (replace placeholders with your AS/IPs). For each peer, create this in /etc/bird/peers4/:
protocol bgp [custom-name] from dnpeers {
  neighbor [peer's DN42 IPv4] as [peer's ASN];
  direct;
};
The direct line prevents routes from being marked unreachable in multihop mode. Create similar configs in /etc/bird/peers6/ for IPv6. Reload with:
birdc configure && birdc6 configureCheck status with birdc show protocol:
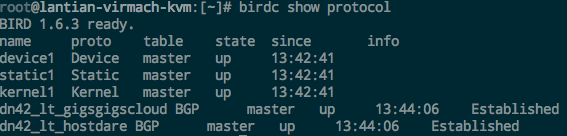
direct (may cause routing issues).
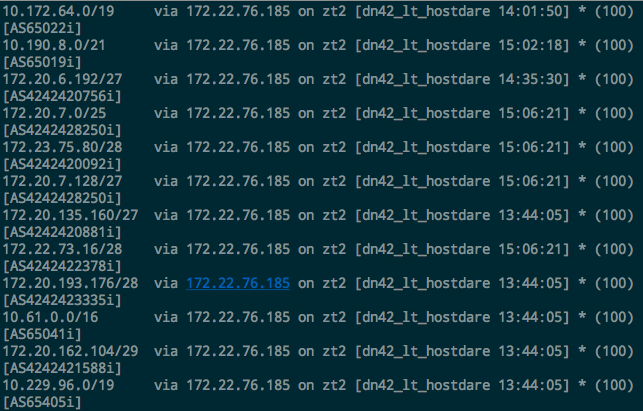
View routes with birdc show route:
Using ZeroTier One for Multi-Server Interconnection
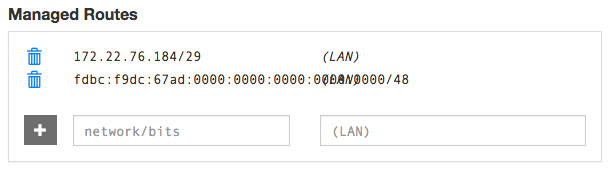
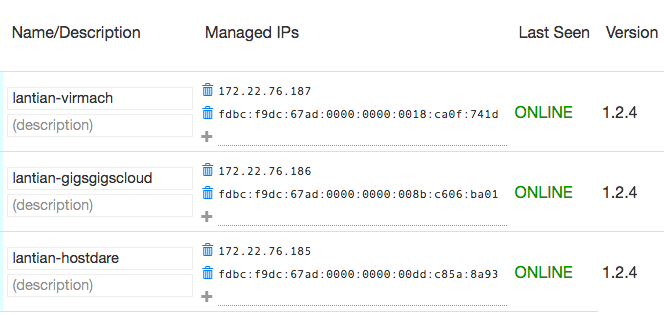
Instead of complex OpenVPN meshes, use ZeroTier One for simpler server interconnects. Create a ZeroTier network and configure:
Managed Routes with your DN42 IP ranges:
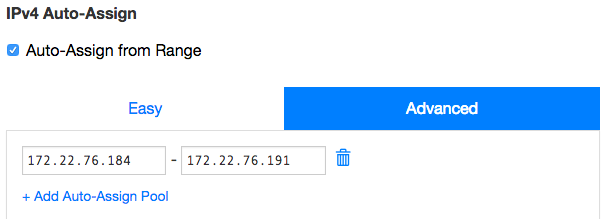
IPv4 Auto-Assign range:
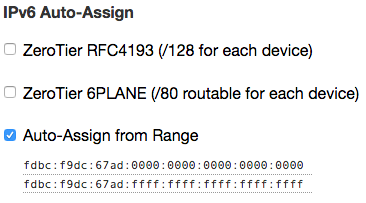
IPv6 Auto-Assign (disable RFC4193/6PLANE):
Install ZeroTier on all servers and join the network:
After verifying internal connectivity, configure Bird BGP between servers using their ZeroTier-assigned IPs and your own ASN. Enable IP forwarding on all servers.
How to Peer with Me
To join DN42 via peering with me, follow this guide or comment below.
(Note: I'll contact you via email instead of replying to comments here.)